500 to $1200 depending on sq. ft.
NOT FOR SALE YET!
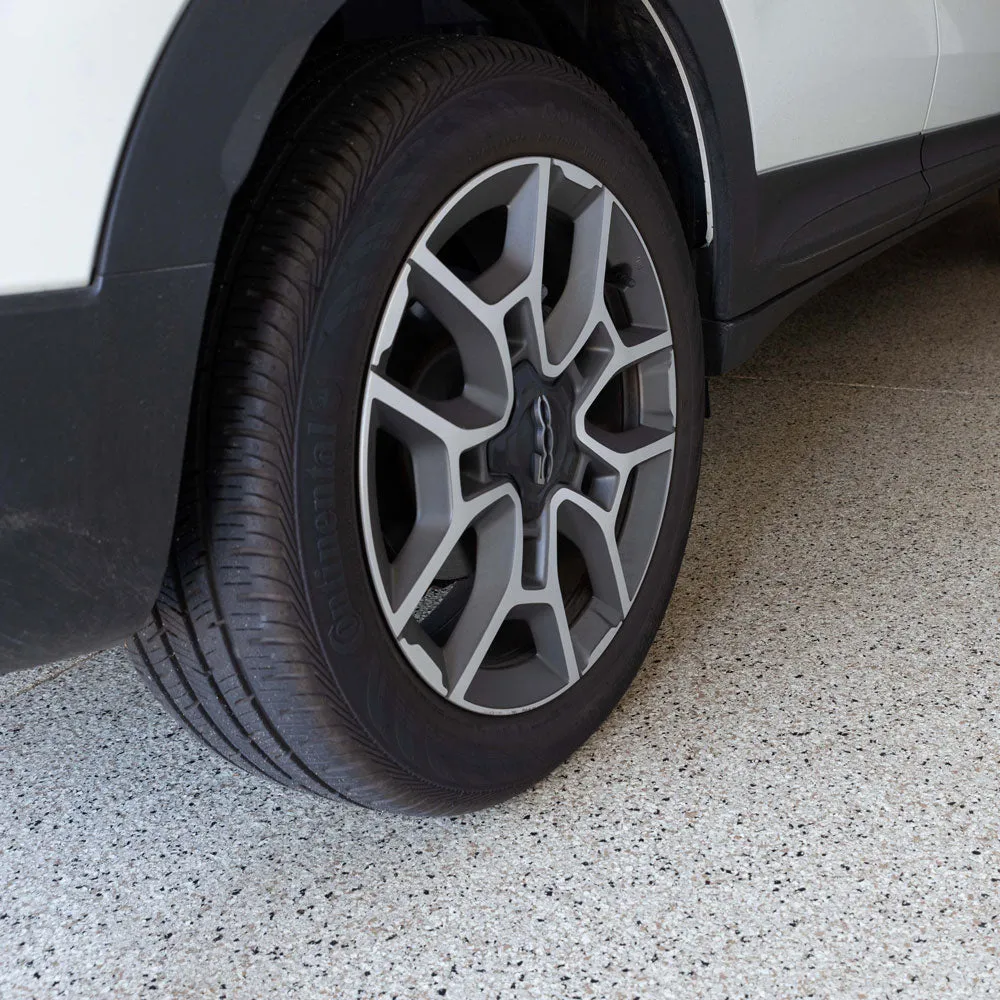
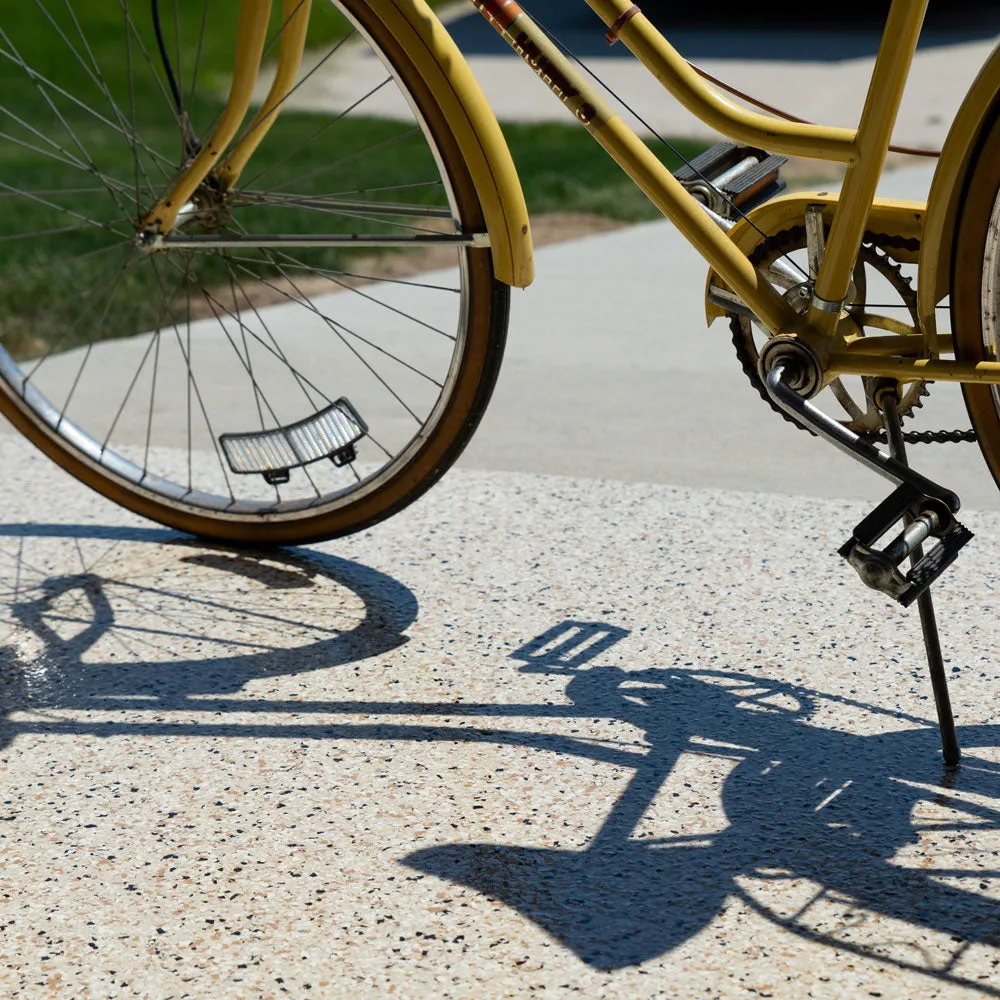
Our Water-Based Epoxy Resin Flake Floor Kit is perfect for the DIY homeowner. It comes with a pre-tinted epoxy base coat, flake floor chips, and your choice of a urethane top coat - enough for 2 coats. Applications range from concrete garage floors, residential interiors, small warehouses, bars, automotive showrooms, or anywhere that an exceedingly resilient interior concrete flake floor is desired.
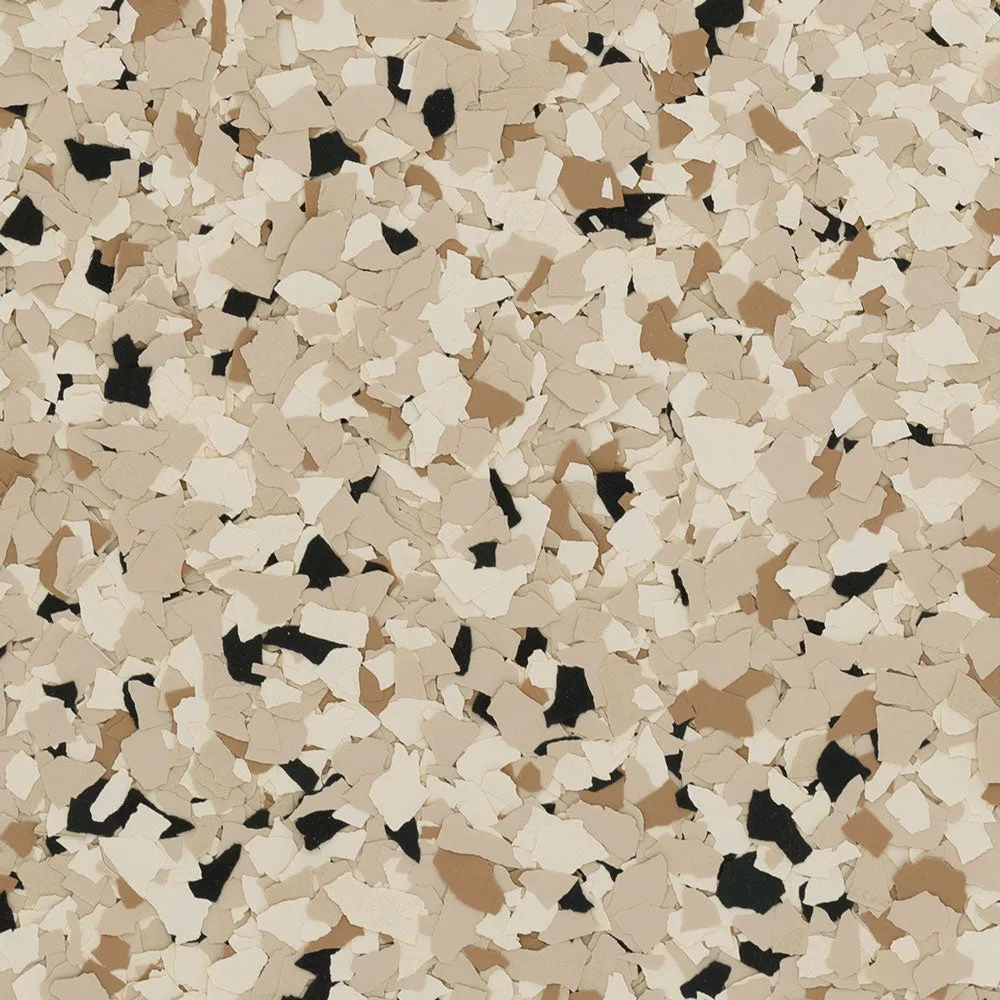
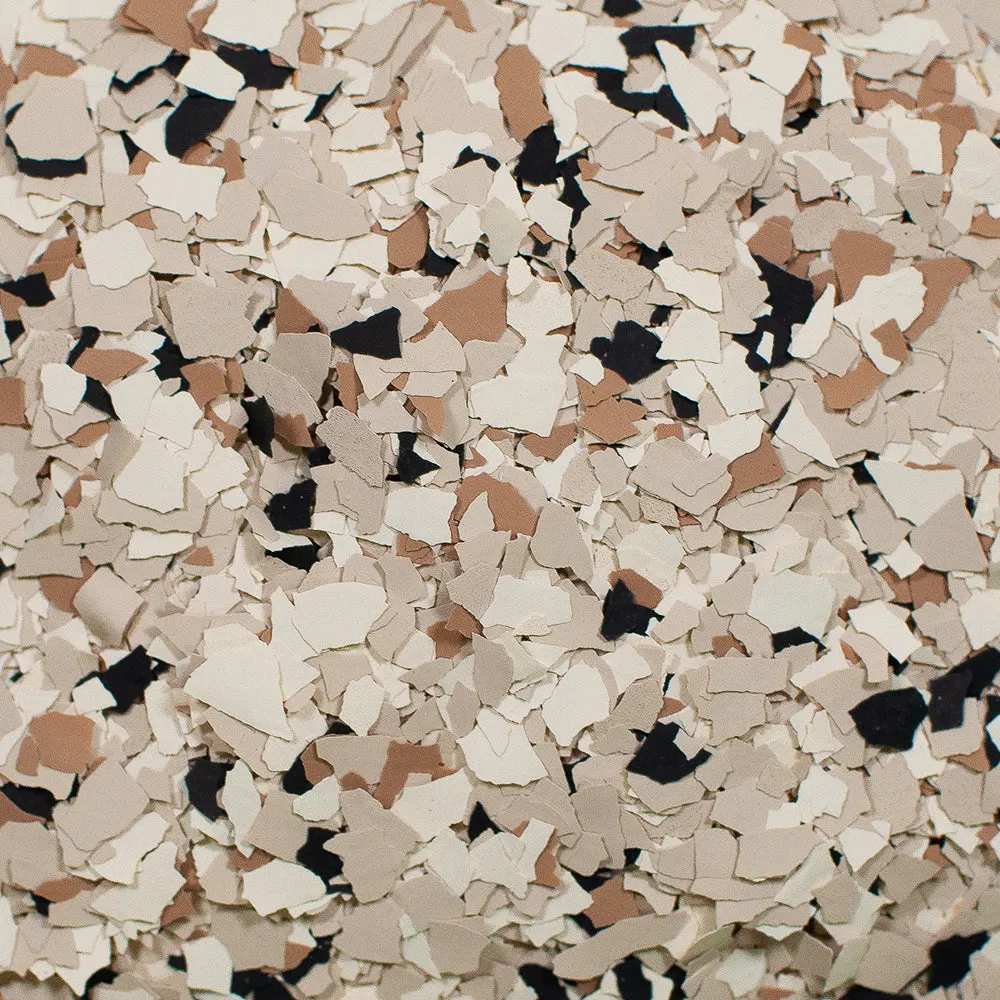
This complete epoxy garage floor color flake kit (also referred to as color chips, or epoxy paint chips) adds little explosions of color creating a beautiful custom floor!
Shoreline 1/4" Garage Flake Floor Kit Includes:
- * Water-Based A-Resin and B-Hardener Pre-Tinted ANTIQUE WHITE Base Coat: 4:1 Ratio
- * Epoxy Color Flakes 40 lb. Box (see below color scheme)
- * Option 1: Water-Based Urethane Gloss or Satin finish
- * Option 2: Solvent-Based Urethane High- Gloss finish
Moisture Barrier, Crack Filler, Cleaner/Etcher, Top Coats, and Flakes also sold separately for custom design floors.
NOTE: For larger Sq. Ft. coverage selections, additional product included.
Coverage:
- 1-gallon Pre-tinted Base-Coat Epoxy coverage ranges from 250-300 sq. ft. with a 3/8" nap paint roller.
- 1/4" Flake coverage at 100% refusal averages 240 sq. ft.
- HYBRID Flake coverage at 100% refusal averages 160 sq. ft.
- Top Coat coverage averages 250-300 sq. ft. per gallon. 1-gallon is enough for 2 coats.
Shoreline Flake Color Scheme:
- 11% Autumn Brown
- 6% Black
- 33% Ivory
- 50% Scone
Top-Coat Options: 1-Gallon Water-Based Urethane Gloss or Satin finish, or 1-Gallon Solvent-Based High-Gloss Urethane. Top coat coverage per 250 sq. ft. as a 1 coat coverage whereas a second coat is optional depending on desired smoothness of top coat texture.
APPLICATION PROCEDURE QUICK LINKS:
WATER-BASED FLOOR EPOXY BENEFITS
The pre-tinted base-coat floor epoxy is a 2 component 52% solids, low VOC floor hard coating. It is a durable-colored base layer for both new and old interior concrete floors; a primer coat; and a binder for epoxy flakes. The high loading of the base coat pigment achieves the preferred substrate tint uniformity.
This base coat floor epoxy creates the highest balance of strength, flexibility, and chemical resistance, all in a low odor, low VOC formulation. Unlike most all 100% solids epoxies, it has remarkable properties related to moisture:
- Withstands high vapor transmission rate, up to 13 pounds per 1,000 ft² (5.4 kg per 100m²) in 24 hours.
- Provides a non-permeable vapor barrier, even in basements.
- Applies on fresh concrete as soon as three days after pouring and placing concrete.
Delivered in this kit are more flake product than is needed. You’ll have all you need for a 100% broadcast flake coverage.
Besides the obvious advantages of colorful custom flake color combinations like this one, color flakes also provide some sound deadening qualities and hide sub-surface imperfections in your concrete. This means concrete patch work and spider cracks are less likely to show through the epoxy coating.
In addition, vinyl color floor flakes such as these are also flexible and strong. When applied to full refusal, they will add a minimum of 5 mils of thickness to your floor, improving both the durability and impact resistance of the surface.
Lastly, unlike epoxy alone, the garage floor flakes are U.V. stable. If you apply them to full refusal on an epoxy coating and then clear coat with a U.V. stable Urethane, you will never experience ambering (yellow tint) from exposure to direct or strong indirect sunlight.
WATER-BASED FLOOR EPOXY FEATURES
- Coverage: 125-175 square foot per gallon catalyzed product (varies widely based on application method)
- VOC Rating: 175 g/L
- Solids Content: 52%
- Shelf Life: 1 year in original unopened container
- Mixing Ratio: 4 parts A to 1 part B Pot Life: 1 hour
- Ready for recoat: dry to the touch (4-18 hours)
- Light Duty Use: 16-30 hours
- Full Cure: 5-14 days
- Appearance (cured): Gloss sheen
- Water Resistance: Excellent, beads water
- Mechanical Stability: Excellent
- Light Stability: Fair
- Odor: Epoxy
- Application Temperature: 50 - 90 degrees Fahrenheit
CHEMICAL RESISTANCE
- MEK: not recommended
- Xylene: 2 hours splash spill
- Gasoline: 2 hours splash spill
- 10% Sodium Hydroxide: 8 hours splash spill
- 50% Sodium Hydroxide: 2 hours splash spill
- Acetic Acid 5%: 2 hours splash spill
- 10% Sulfuric Acid: 2 hours splash spill
- 10% Hydrochloric Acid: 2 hours splash spill
- 20% Nitric Acid: not recommended
- Ethylene Glycol: 8 hours splash spill
TOP-COAT FEATURES AND BENEFITS
Water-Based Polyurethane: Clear finish topcoat is available in gloss or satin finishes provides the durability of a solvent base system with the ease and safety of a low VOC (73 g/L) water base system. More user friendly than a polyaspartic and can be used on interior concrete floors. Read More Here.
- Coverage: Approx. 300-400 square foot per gallon, per coat
- VOC Rating: Less than 72 g/L
- Pot Life: Approx. 30 minutes
- Shelf Life: 1 year in original unopened container
- Ready for recoat: 6-8 hours (18 hours at low temperatures)
- Light Duty Use: 24 hours (Up to 48 hours at low temperatures)
- Heavy Traffic Ready: 3 days (Up to 5 days at low temperatures)
- Full Cure: 5-7 days (Up to 14 days at low temperatures)
- Appearance (cured): Clear Gloss or Satin
- Appearance (wet): Milky Liquid
- Water Resistance: Excellent, beads water
- Odor: Sweet Acrylic
- Application Temperature: 50 - 90 degrees Fahrenheit
Solvent-Based Polyurethane: Clear finish topcoat is available in gloss provides durability of a polyaspartic. The high-gloss clear top coat generates the premier balance of strength, added UV stability, flexibility, chemical and scratch resistance that is both user-friendly and extremely durable. Read More Here.
- Coverage: Approx. 300-400 square foot per gallon, per coat
- VOC Rating: Less than 435 g/L
- Pot Life: Approx. 60 minutes
- Shelf Life: 1 year in original unopened container
- Ready for recoat: 6-8 hours (18 hours at low temperatures)
- Light Duty Use: 24 hours (Up to 48 hours at low temperatures)
- Heavy Traffic Ready: 3 days (Up to 5 days at low temperatures)
- Full Cure: 5-7 days (Up to 14 days at low temperatures)
- Appearance (cured): Clear Gloss
- Appearance (wet): Clear
- Water Resistance: Excellent, beads water
- Odor: Solvent
- Application Temperature: 50 - 90 degrees Fahrenheit
Once your kit is purchased be sure to read our Pre Prep and Flake application instrustions. These tutorials will be on the emailed receipt and sent to the email you use during the checkout process.
NOTE: If you live in a more humid climate, an area where there’s a lot of rain, or just need protection against moisture, in addition to this floor kit, you may also want to purchase our from our Single Items store.
Pour at temperatures between 50°F- 90°F with low humidity in a dust free environment. Allow 24 hours for initial cure. Wait 3 days for a full hard cure.
IMPORTANT NOTESHow Do You Apply Pre-Tinted Water-Based Flake Floor Epoxy To Concrete?
NOTE: Do NOT skip prepping your garage floor properly! This is the most important part of the application to ensure a good bond. Mechanically grinding the surface of your garage floor is a must if your garage floor has oil stains, cracks, dirt, mold, mildew, or moisture stains. Concrete floors with old paint or any type of coating MUST have it completely removed and mechanically ground clean in order to accept the epoxy flake floor system!
-
Clean the Floor: Thoroughly clean (sweep and vacuum) the concrete garage floor. Clean the floor with our . Be sure to wash all residue away and let dry overnight.
-
Fill Cracks and Holes: Cracks and hairline cracks should be opened up with an angle grinder about 1/8" deep and all holes should be filled in with our . Cures after 8 hours and is ready to grind level. Do this before grinding and leveling the entire floor.
-
Resurfacing/Leveling: Floor surfaces must be mechanically prepped by grinding to avoid delaminating or pop up from contamination on the floor surface or the concrete is too smooth to bond with the epoxy.
-
Moisture: Make sure your concrete floor is not retaining moisture. Test this by taping a 2 ft. x 2 ft. plastic sheet (garbage bag) to the floor, and leave it overnight. If there are water bubbles or spots under the plastic, the concrete is retaining moisture. If moisture is present, do a sodium chloride moisture test. If needed, apply our and let dry for 24 hours.
-
Masking: If the walls have already been painted, use blue painters’ tape around the edges where your wall and your floor meet while leaving a 1/8” gap above the floor. If any foundation block/base board area along the walls require epoxy and flakes, tape that off above as well.
-
Mixing Water-base Colored Floor Epoxy: Pour in 1 part B to 4 parts A. Part A in the gallon can is short filled, and the addition of the entire quart can of Part B will create 1-gallon of pre-tinted concrete floor base epoxy. Mix for a minimum of three minutes – scrape the sides of the can thoroughly while mixing.
-
Apply Epoxy Base-Coat: While wearing spiked shoes, pour mixed epoxy onto the floor in 4”-6” wide ribbons running perpendicular across the floor. Use a paint roller parallel to the poured ribbons to push the epoxy puddle uniformly covering the floor. Roll out your garage floor epoxy just like you would paint your floor, working your way out of the room. A 3/8” nap 12–18-inch paint roller works best.
After the epoxy is rolled out evenly, back roll with your paint roller perpendicular to the way you spread it out making sure the entire floor is evenly covered. Areas on the concrete block perimeter of your garage should be attended to as well.
-
Flake Broadcasting: While the floor epoxy is still wet – which it will be, broadcast the included kit epoxy flakes onto the entire surface. This broadcast will be a 100% dispersion of flakes (full refusal) that will completely cover up the base-coat binder epoxy. You should see an even and dry coating of flake with no shiny areas/spots when properly covered. Add more flakes if you see shiny epoxy showing through.
With heaping handfuls of epoxy flakes, toss them into the air and let them fall to the floor. Throw/flick the flakes into the air and let them fall onto your epoxy (use a chicken feeding motion). Toss the flakes about 2-3 feet out and away from yourself.
-
Remove Excess Flakes: Once cured, (usually 8-10 hours later) scrape the floor with a flat edge trowel or wide floor scraper to knock down sharp flake edges, vertical flake chips protruding, and excess flakes. Sweep with a stiff broom (or leaf blower) and vacuum all excess flakes off the floor - only after it is cured dry.
-
Apply Polyurethane Top-Coat Protection: Follow the mix ration instructions on the product container. Pour part "B" into part "A" and mix mechanically for a minimum of 3 minutes. Part A in the gallon can is short filled, and the addition of the entire quart can of Part B will create 1-gallon of top-coat.
With a 3/8” nap 12–18-inch paint roller, roll out a thin coat over workable area, making sure to maintain wet edges uniformity over entire floor. These materials are designed to go down thin, /- 250 sq. ft. per gallon. Do not puddle the material. Follow the recoat (second coat) instructions on the product container.
- Precautions: We do not suggest driving on the epoxy flake floor until at least 5-7 days after application. Always avoid turning your front tires on your new surface as a precaution. Do not slide heavy items as it could tear up the flakes. Use rubber or felt pads for protection under objects and felt pads when sliding large furniture, items, or objects.
REQUIRED TOOLS AND SUPPLIES
The following is a list of tools and supplies that you will need. All of these tools can be easily purchased at Home Depot, Lowes, Menards, Amazon, or your local Hardware store.
We also included optional tools such as 18" rollers. They are not mandatory, but the wider rollers make the application process go much quicker. We highly recommend these if you are covering areas larger than 500 sq. ft.
- Tarp for mixing station (6x8 works well)
- Variable speed drill
- Latex gloves
- Rags for clean up
- 1 gal. MEK or acetone for clean up
- 9" roller frame
- 2, 3/8" nap lint free rollers (1 for each coating)
- Threaded pole extension for roller frame
- Paint brushes for sidewalls and corners (1 for each coat)
- 10" drywall taping knife for scraping small areas
- Painters' tape for masking
Why Spiked Shoes? Spiked shoes allow you to walk out onto the coating during installation and for tossing the color flakes. We recommend a pair for each installer.
Why 18" Items? The 18" roller frames, rollers, and paint tray can easily be purchased online. Some home improvement centers carry them. These products greatly improve the speed and ease of applying a garage floor coating.
OPTIONAL TOOLS
- 18" roller frame for large areas
- 18" 3/8" premium lint free rollers (1 for each coating)
PART A - CALIFORNIA PROPOSITION 65: This product contains a chemical(s) known to the state of California to cause cancer, birth defects or reproductive harm, which are subject to the requirements of California Proposition 65. FOR MORE INFORMATION GO TO: WWW.P65WARNINGS.CA.GOV.
PART B - CALIFORNIA PROPOSITION 65: This product contains a chemical(s) known to the state of California to cause cancer, birth defects or reproductive harm, which are subject to the requirements of California Proposition 65. FOR MORE INFORMATION GO TO: WWW.P65WARNINGS.CA.GOV.


